Designer Basics
The Ignition Designer is where the majority of configuration and design work is done. You web-launch it from the Gateway and use it to build projects, which are the major unit of design. The projects are then viewed by the Clients.
What is a Project?
In Ignition, a project is a unit of configuration that contains: Windows, Components, Transaction Groups, General Settings, and Security Settings. You use the Designer to configure and create projects. The projects are then viewed in the runtime Clients.
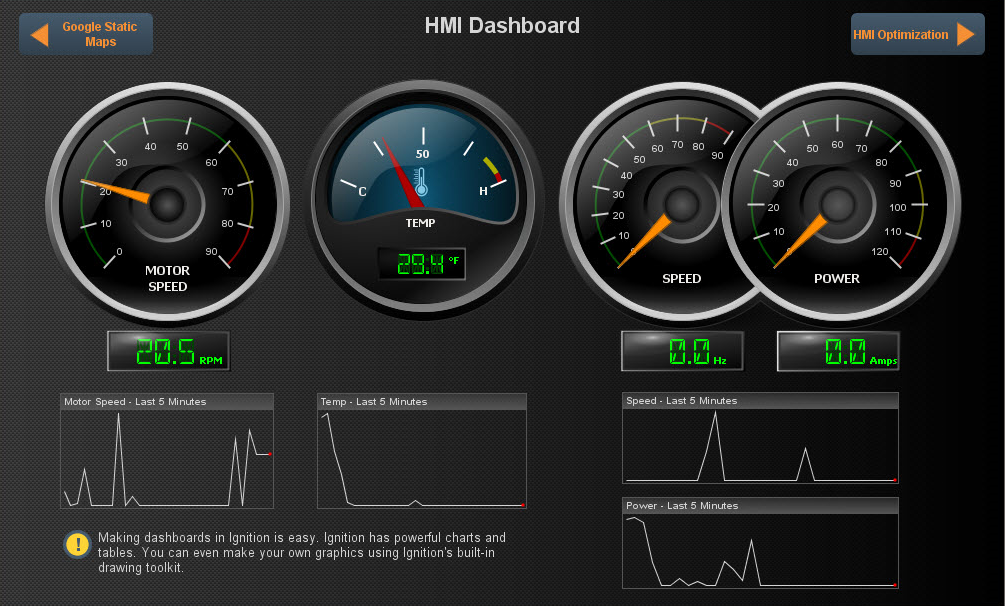
Here are two examples of projects as created in the Designer and viewed in the Client:

When you launch the Designer, you're asked to select or create a project. The Designer then launches the project and you can set and modify the different types of project settings and resources. In the Designer, you can create any number of projects. Projects that contains viewable elements, such as windows or reports, will have a launch link on the Gateway homepage. Otherwise, the project runs in the Gateway and will not have a Client runtime.
There is no limits to the number of projects that can be created on a Gateway, but each runtime Client or the Designer can operate only on one project at a time.
After you make all your changes and save the project, all the project settings and resources are sent to the Gateway, where they are handled by the appropriate modules.
What is not a Project?
There are a number of settings that are shared by ALL projects on the Gateway system, such as, tag providers, database connections, OPC server connections, OPC-UA module device configurations, and alarm notification pipelines. A project does not contain these settings.
Creating a Project
While launching the Designer, the Open/Create Project window is displayed. You will have the option to create a new project or open an existing project.

To create a new project, click on New Project and define following information:
Project Name
A unique name for the project in the system. The name can only consist of alphanumeric characters and the '_' character. Spaces and other special characters are not supported.
Note: it is not advisable to change the name after it's been created, instead, change the Project Title if you want to change how the project appears later.
Project Title
Is how the project will appear to users in runtime Client.
Authentication Profile
The profile to use for granting access to the project.
For more information, see Security in Ignition.
Default Database
All elements of the project will use this default database connection unless explicitly specified otherwise.
Default Tags Provider
The primary tag provider for the project. Most installations will likely only have one provider, but in situations where there are more than one, this is the provider that will be used by default.
Project Template
Gives you the option to choose a template for your project. Click the dropdown to see all the available options.
Managing Projects
You manage the projects from the Configure section of Gateway by going to Configuration > Projects.
The Project window is displayed and from here your can view, edit, delete, copy, or export each project. Look to the right of the project name, to see the link for these actions.

Note: There are other things you can do to manage your projects in the Designer, such as the Client Poll Rate and Publish Mode. See the Project > General Property Settings section for more information.
Viewing a Project
The view link on the Project window, takes you to the Project details for 'Project Name' page where you can choose to view the Published or Staging version of the project.
Published vs Staging
Each project can have two distinct versions at the same time: the Staging version and the Published version. Having a published version and a staging version allows you to make changes to a project, save the changes, and test out the changes before "publishing" it to a production environment.
Usually, Vision module Clients run the published version of a project. However, by launching a Client in a special mode (from the Designer or from the Config section of the Gateway), you can launch a Client that runs the staging version of that project. This staging Client will receive updates on every save, where the production Clients receive updates only on publish. This lets you test out your changes to the project in an actual Client, which is more realistic than the Designer's preview mode.
Not all aspects that comprise a project use this system. It is primarily intended for systems such as the Vision module's Clients. Features that run persistently on the Gateway, such as Tags, the SQL Bridge's Transaction Groups, and Gateway-side scripting always run the most recently saved changes (the Staging version). Since these features by definition must run in exactly one place, they cannot be effectively "tested out" by simultaneously running a staging version alongside a published version.
In the Designer, choose the Project > Properties menu item, then go to the Project > General page to set the Publish Mode. By default, a new project is configured to be in Auto publish mode, however you can change it to Manual publish mode.
-
In the default Auto mode, when you want to save your project, Designer lets you do a File > Save and Publish, which means both the Staging and the Published versions will be the same and identical.
-
In Manual mode, when you want to save your project, Designer lets you do both a File > Save or a File > Publish. File > Save updates the Staging version, and File > Publish updates the Published version.
Project Versioning and History
Each project keeps a log of recent changes. These include both saves and publishes. Every save increments a number called the "edit count" for the project, which can be used like a serial number. The user, time, affected resources, and a commit messages (described next) are logged as well.
Commit Messages
A project may be configured to prompt the user making changes to describe those changes, either on every publish event, or on every save and publish event. These messages, called commit messages, are used to describe the changes that have been made to the project. By inspecting the project's history and reading these commit messages, you can learn what changes have been made to the project, for what reason, and by whom.
Editing a Project
To edit some of the project settings, go to the Configure section of Gateway, and then to Configuration > Projects. You will see a list of all your projects. Click edit to the right of project name in the list. The Edit Project page is displayed. You can now change some of the project settings such as project name, description, and title. You can also change connections to the Authentication profile, default database, and default tag provider.
Deleting a Project
Be aware that once you delete a project, it cannot be undone, a deleted project is gone forever (unless it can be recovered from a backup or auto-backup.
To delete a project, go to the Configure section of Gateway, and then to Configuration > Projects. You will now see a list of all your projects. To the right of the project name in the list, look for delete and click on it. This deletes your project.
Copying a Project
Copying your project is useful when you need a snapshot of a project before starting major changes, or for creating a starting point for a new project based on an old one.
To copy a project, go to the Configure section of Gateway, and then to Configuration > Projects. You will now see a list of all your projects. To the right of the project name in the list, click copy. This creates a copy of your project.
Exporting and Importing a Project
There are two primary ways to export/backup or import/restore projects:
-
Project export and import
-
System backup and restore
Project export and import
Projects can be exported (backuped) and imported (restored) individually. Project exports only include project-specific elements, like windows and groups. They do not include Gateway settings, like database connections and device configurations.
To export the project, go to the Configure section of Gateway, and then to Configuration > Projects. You will see a list of all your projects. To the right of project name, click export. This exports your project as a *.proj backup file.
To import the project, go to the Configure section of Gateway, and then to Configuration > Projects. You will see a list of all your projects. Below the project table, next to the orange arrow, click the Upload project from a *.proj backup file link. Then choose your backup file and click Upload.
System backup and restore
You can backup a project as part of a full system backup. The system backup includes all of the projects in the system, in addition to all of the settings. Restoring a system backup replaces all current projects and settings on a Gateway. See Making Ignition Gateway Backups for more information.
Concurrently Working on a Project
Often in large projects there are multiple people working on the same project. Multiple Designers can be launched concurrently so everyone can work on the same project. When a particular resource is being edited, it will be locked, and the other designers won't be able to modify it. When the project is saved, the resource is unlocked. Concurrent edits are received by other designers only when you do a File > Update Project.
In this section ...